
CentOS7.3 ApacheにSSL証明書を導入
必要なパッケージのインストール
# yum -y install httpd openssl mod_ssl

# yum -y install git
Let’s Encrypt Client のインストール
# git clone https://github.com/letsencrypt/letsencrypt

# cd letsencrypt

# ./letsencrypt-auto --help
これで必要なパッケージが自動でインストールされる。
SSL証明書の作成
Apacheを停止する。
# systemctl stop httpd.service
対象のドメイン名を「www.example.com」の場合は以下のようにコマンドを実行する。
# ./letsencrypt-auto certonly --standalone -d www.example.com
./letsencrypt-auto has insecure permissions!

To learn how to fix them, visit https://community.letsencrypt.org/t/certbot-auto-deployment-best-practices/91979/

Saving debug log to /var/log/letsencrypt/letsencrypt.log

Plugins selected: Authenticator standalone, Installer None

Enter email address (used for urgent renewal and security notices) (Enter 'c' to

cancel):owner@example.com
上記のようにメールアドレスを求められるので、
メールアドレスを入力する。
 - - - - - - - - - - - - - - - - - - - - - - - - - - - - - - - - - - - - - - -

Please read the Terms of Service at

https://letsencrypt.org/documents/LE-SA-v1.2-November-15-2017.pdf. You must

agree in order to register with the ACME server at

https://acme-v02.api.letsencrypt.org/directory

- - - - - - - - - - - - - - - - - - - - - - - - - - - - - - - - - - - - - - - -

(A)gree/(C)ancel: A
利用規約の同意が求められるので、「A」を入力する。
- - - - - - - - - - - - - - - - - - - - - - - - - - - - - - - - - - - - - - - -

Would you be willing to share your email address with the Electronic Frontier

Foundation, a founding partner of the Let's Encrypt project and the non-profit

organization that develops Certbot? We'd like to send you email about our work

encrypting the web, EFF news, campaigns, and ways to support digital freedom.

- - - - - - - - - - - - - - - - - - - - - - - - - - - - - - - - - - - - - - - -

(Y)es/(N)o: Y
「Y」を入力する。
Obtaining a new certificate

Performing the following challenges:

http-01 challenge for www.example.com

Waiting for verification...

Cleaning up challenges
IMPORTANT NOTES:
- Congratulations! Your certificate and chain have been saved at:
/etc/letsencrypt/live/www.example.com/fullchain.pem
Your key file has been saved at:
/etc/letsencrypt/live/www.example.com/privkey.pem
Your cert will expire on 2020-06-09. To obtain a new or tweaked
version of this certificate in the future, simply run
letsencrypt-auto again. To non-interactively renew *all* of your
certificates, run "letsencrypt-auto renew"
- Your account credentials have been saved in your Certbot
configuration directory at /etc/letsencrypt. You should make a
secure backup of this folder now. This configuration directory will
also contain certificates and private keys obtained by Certbot so
making regular backups of this folder is ideal.
- If you like Certbot, please consider supporting our work by:
Donating to ISRG / Let's Encrypt: https://letsencrypt.org/donate
Donating to EFF: https://eff.org/donate-le
以上で、SSL証明書が作成された。
作成されたファイルを確認する。
# cd /etc/letsencrypt/live/www.example.com

# ls

cert.pem       ←サーバ証明書

chain.pem      ←中間証明書

fullchain.pem  ←サーバ証明書+中間証明書

privkey.pem    ←サーバ秘密鍵
ssl.confを以下のように変更する。
#/etc/httpd/conf.d/ssl.conf

SSLCertificateFile /etc/letsencrypt/live/www.example.com/cert.pem

SSLCertificateKeyFile /etc/letsencrypt/live/www.example.com/privkey.pem

SSLCertificateChainFile /etc/letsencrypt/live/www.example.com/chain.pem
httpd.confを以下のように変更する。
#/etc/httpd/conf/httpd.conf

NameVirtualHost *:80

NameVirtualHost *:443
ServerAdmin root@www.example.com
DocumentRoot /var/www/html
ServerName www.example.com
SSLEngine on
SSLCertificateFile /etc/letsencrypt/live/www.example.com/cert.pem
SSLCertificateKeyFile /etc/letsencrypt/live/www.example.com/privkey.pem
SSLCertificateChainFile /etc/letsencrypt/live/www.example.com/chain.pem
ServerAdmin root@www.example.com
DocumentRoot /var/www/html
ServerName www.example.com
Apacheを起動する。
# systemctl start httpd.service
Apacheがうまく起動しない場合は、記述が間違っていることが考えられる。
その場合は、
# service httpd configtest
でエラーが無いか、確認する。
ブラウザでサイトにアクセスした時に、自動でhttpsにリダイレクトする設定
httpd.conf(VirtualHostの場合はconf.d/*.conf)に以下を追記する。
  RewriteEngine On

  RewriteCond %{HTTPS} off

  RewriteRule ^(.*)$ https://%{HTTP_HOST}%{REQUEST_URI} [R=301,L]
SQL Server 2019 テーブルのデータをINSERT文でエクスポート
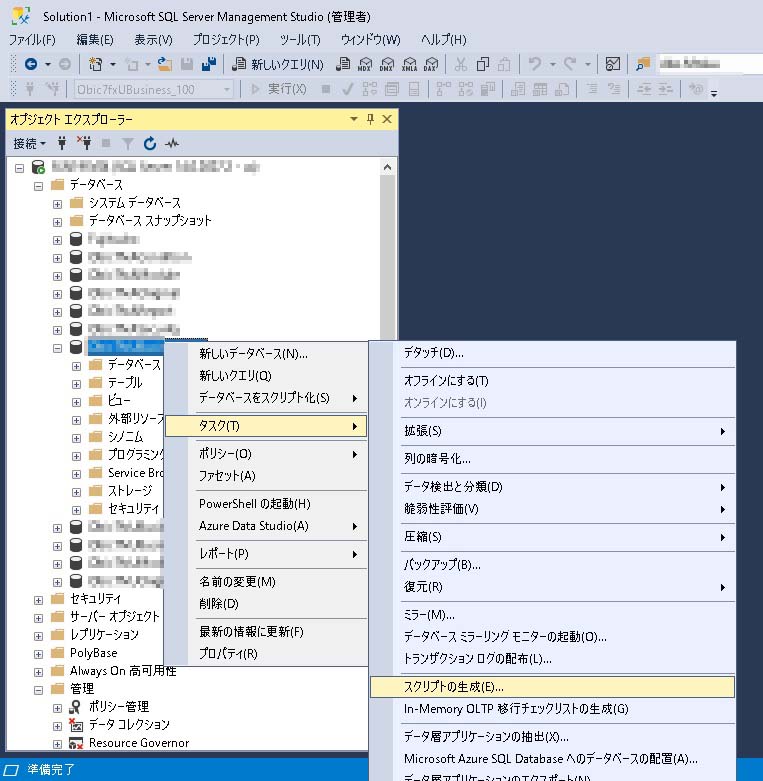
SSMSを起動、ログインし、対象のデータベースを右クリック。
「タスク」→「スクリプトの生成」を順にクリックする。
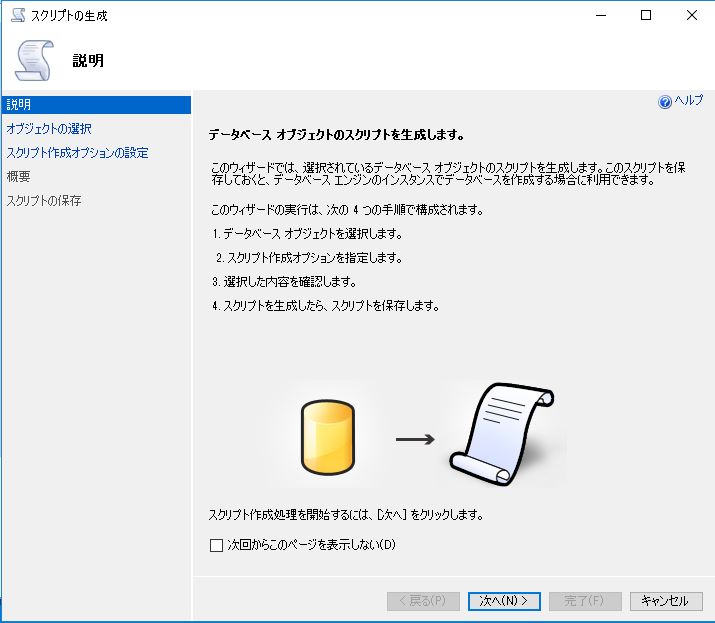
「次へ」をクリック。
「特定のデータベースオブジェクトを選択」を選び、下のテーブル一覧からエクスポートするテーブルを選択する。
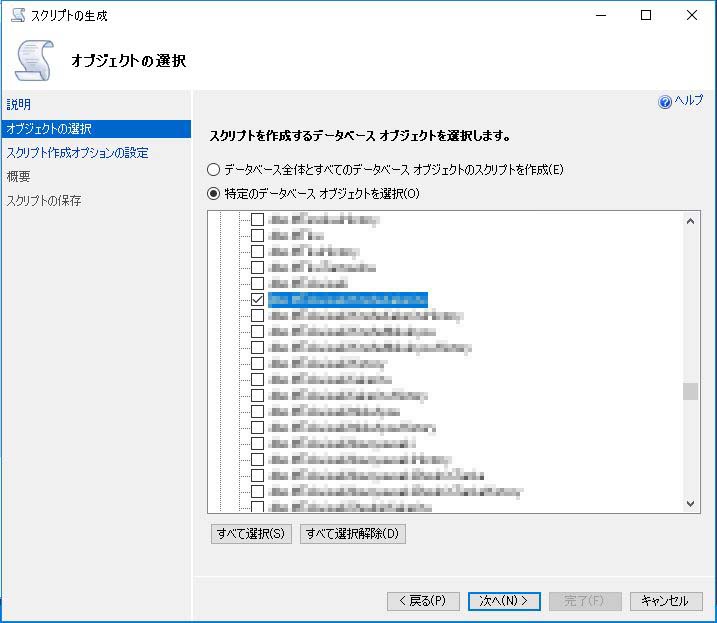
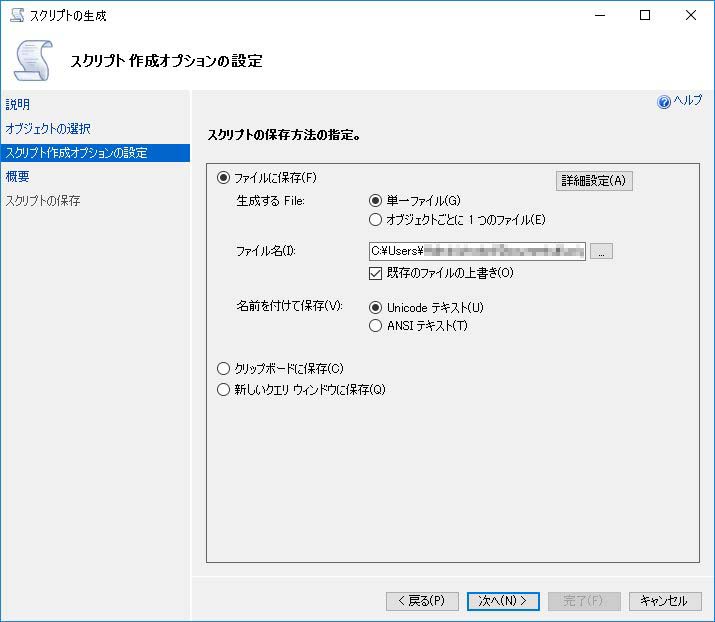
ファイル名を確認し、必要に応じて変更する。
その後、「詳細設定」をクリック。

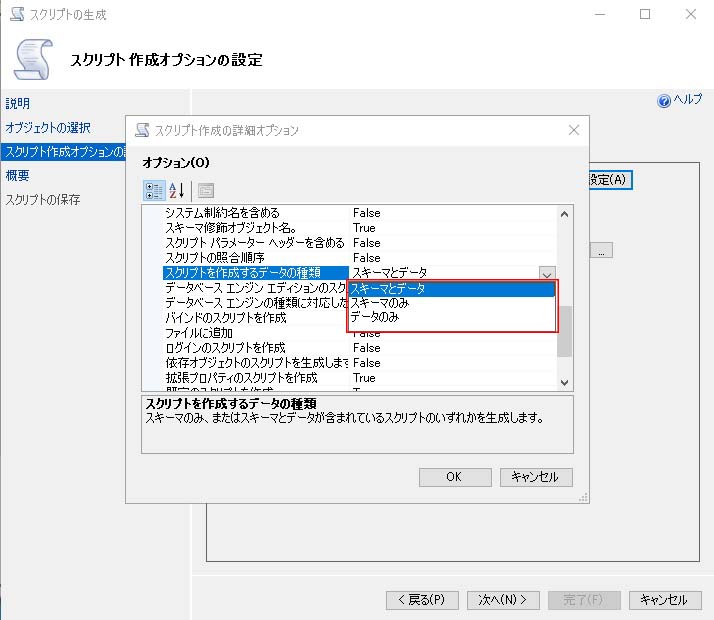
「スクリプトを作成するデータの種類」を選択する。
デフォルトでは、「スキーマのみ」が選択されているが、これはテーブル構造のみのエクスポートになる。
データをエクスポートする場合は、「スキーマとデータ」または「データのみ」を選択する。
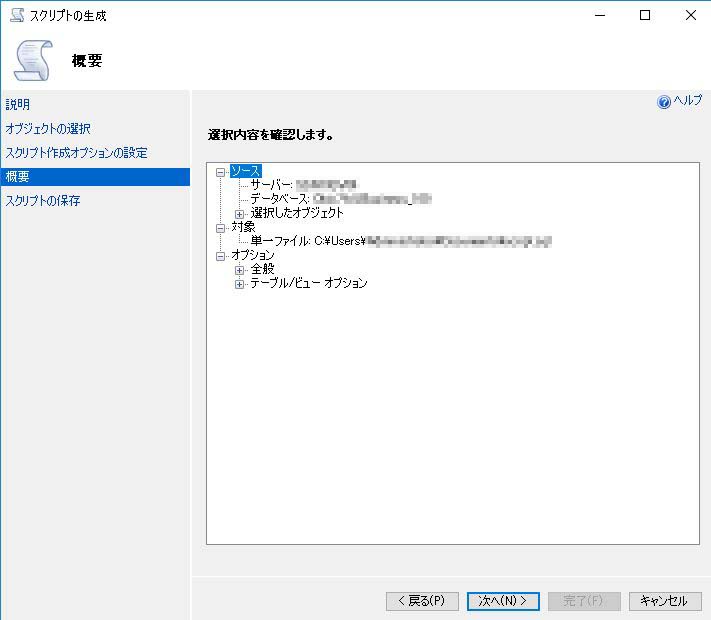
「次へ」をクリック。
「次へ」をクリック。
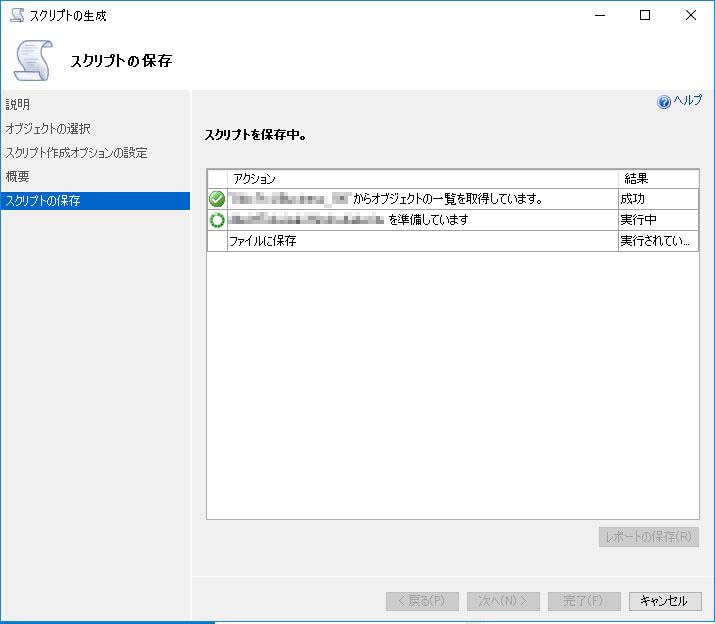
ファイル作成中の画面。処理が終わるまで、しばらく待つ。
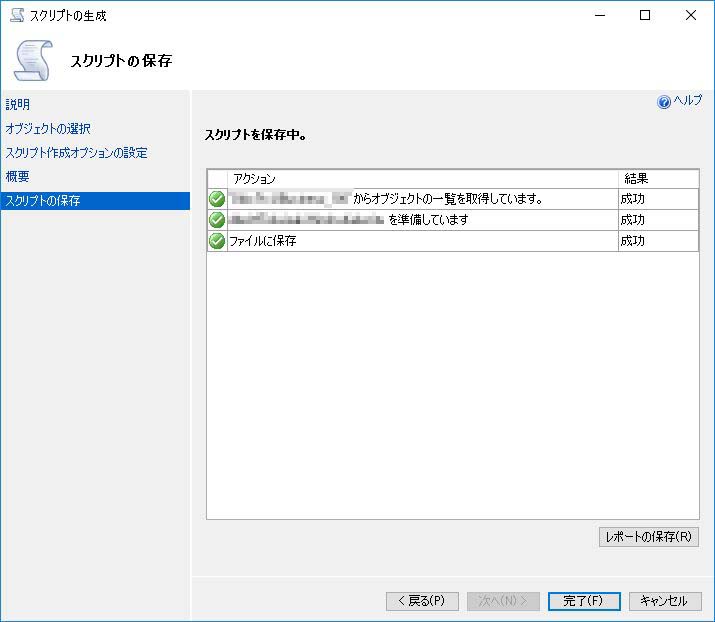
完了時の画面。
「完了」をクリックして画面を閉じる。
アフィリエイトに最適!
格安IP分散サーバーなら
【CIPレンタルサーバー】

クリエイターがたくさん使ってる、ロリポップ!
独自ドメインやデータベース、PHP・CGI・SSIはもちろん 大人気Wordpressなどの簡単インストールをはじめ、
カート機能、cron、SSH、共有/独自SSLなど機能満載。
メールアドレスはいくつでも作成可能!
容量最大1000GBで月額100円(税抜)から。